How to Create a Thank You Letter Mailing
Letter Mailings in Eleo export out to Microsoft Word. To create a Letter Template, follow these steps.
Create individual (one-off) thank-you letters
Create thank- you letters in batches
Create individual (one-off) thank-you letters
- Add your gift as usual and click Save.
- Scroll to the bottom of the Gift page and locate the Acknowledgments section.
- Click Create Thank You, then choose whether you would like to Create a Letter or Send an Email.
Note: If you do not see the email option, it may not be enabled for your account. Please check with your system administrator or contact Eleo Support.

-
For this guide, we will select Create Letter.
A window will appear displaying the contact’s name, gift number, amount, and date. From here, you can either choose an existing Letter Template from the dropdown or create your message from scratch.
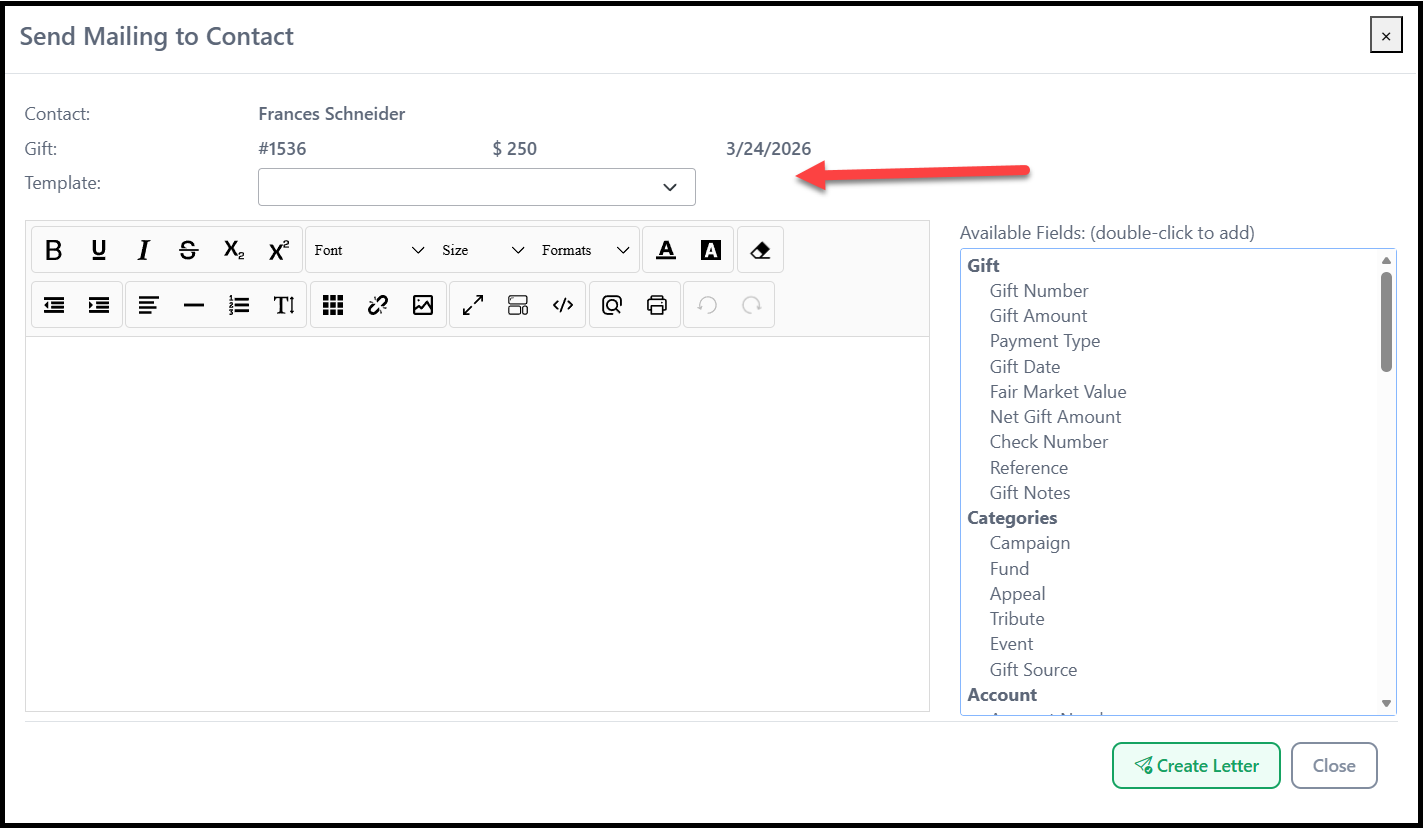
5. Use the rich text editor to format your letter, add images, and customize the content. To insert data fields, simply double-click any field listed on the right-hand side and it will populate in your letter.
Note: If you insert an image, click the arrow icon to continue writing below it.

6. When you’re finished, click Create Letter. The file will download to your Downloads folder.
7. Open, review, then print and mail your letter.


Example:

Create thank-you letters in batches
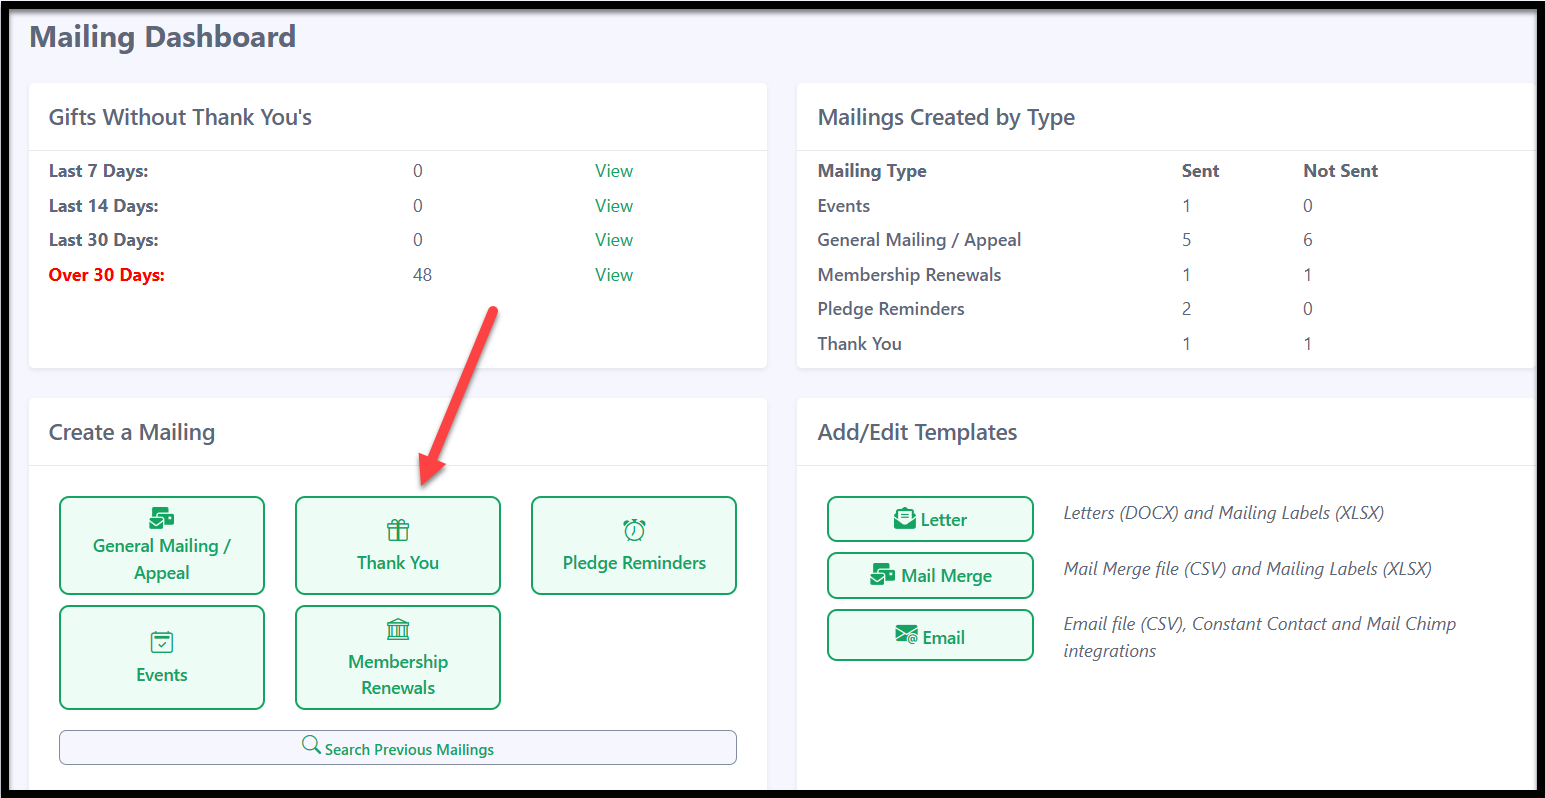
- Once your template is created and you are ready to create the mailing, click on the Mailings tab in the left-hand side navigation bar.

-
Then select Thank You under the Create a Mailing heading.

-
Now, you'll proceed with the mailing process and track your progress using the progress bar at the top. Choose the Template Type which in this case will be Letter.


-
Next select your Template. If you had not previously created it, there is also an option to add a template here.


- The rest of the Mailing page will now open, allowing you to configure your mailing details:
- Mailing Info: Give your mailing a name and an optional description. If applicable, you can also associate it with an appeal or appeal category.
- Mailing Options: Choose which address to use for your mailings. The default is Primary Address Only, but you can select all addresses or a specific address type as needed. You can also determine how to sort your letters.
- Recipient Filters: Use gift filters to select the gifts you want to acknowledge at this time.
Once you've made your selections, click Continue at the bottom.

-
You will now be at the final page of the mailing.
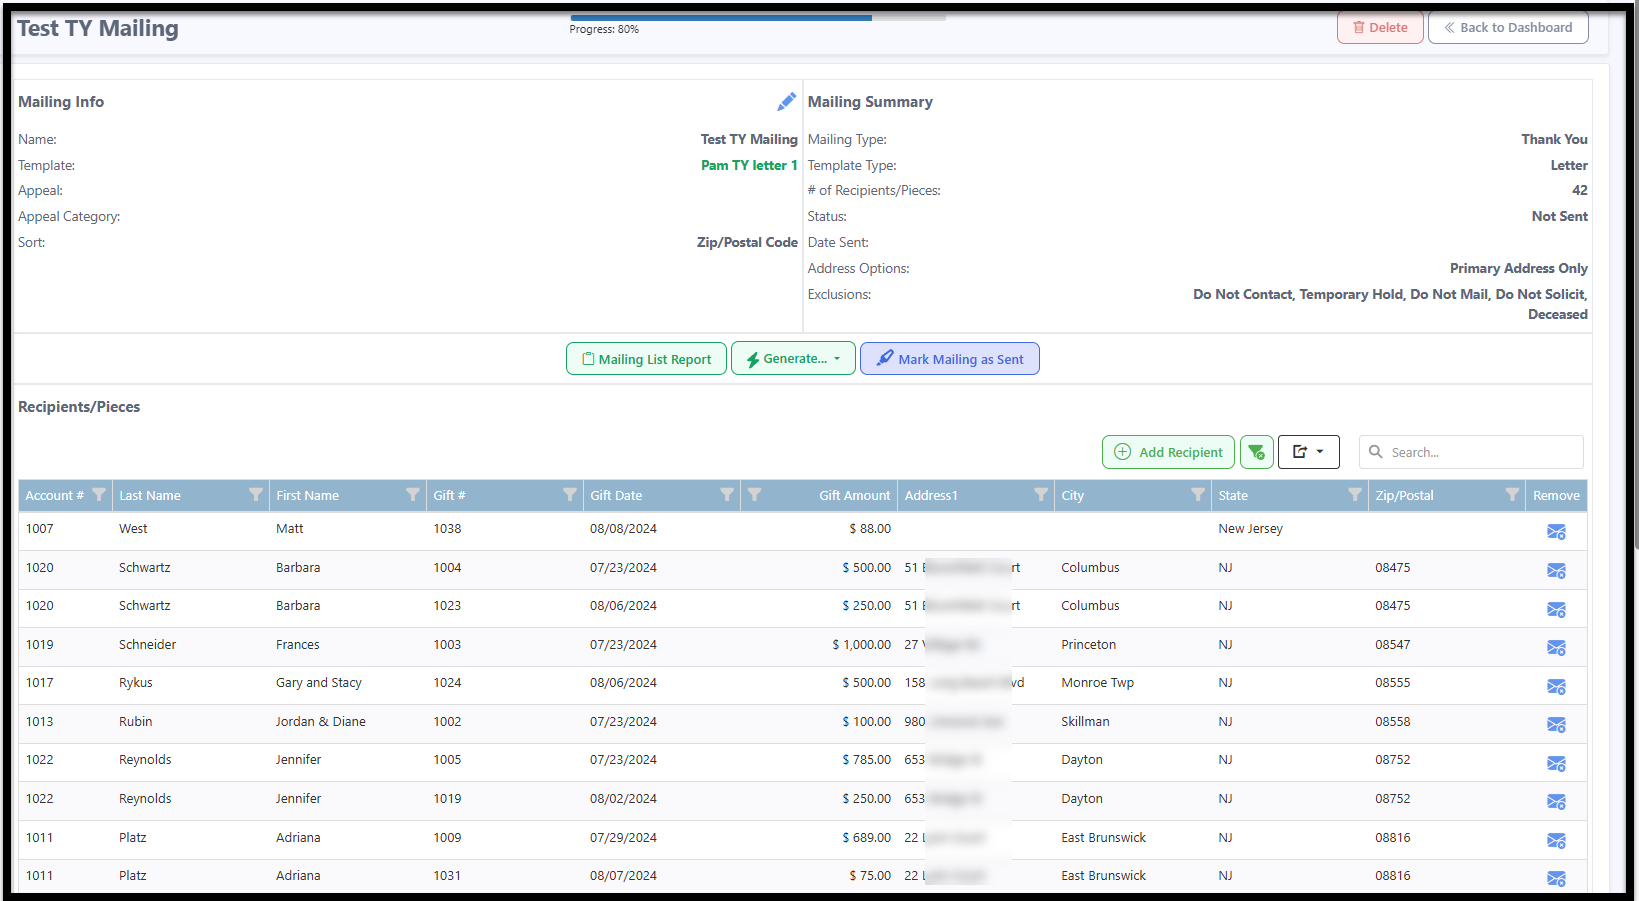
7. At the bottom, you can review the names included in the mailing.
🔹 Reminder: Thank-you letters are gift-specific, so if a donor has multiple gifts that meet the criteria, their name will appear once for each gift.
🔹 Need to make changes?
- To remove a name, use the option on the far right.
- To search for a specific donor, use the search bar to ensure everyone is included.
- To add a missing recipient, you can manually enter their information.


-
Mailing List Report
Run a report with a summary or detailed information about this mailing.
Generate Options
- Document File – Downloads the actual letters in Microsoft Word.
- Formatted Labels – Creates a PDF file for printing labels after making a few selections.
- Address Labels – Generates a CSV file to merge into labels manually.
Mark Mailing as Sent
This final step logs the mailing in the History tab for all recipients and completes the mailing.
