How to Add a Donation Option to an Event Registration Web Form
Since Event Registration Web Forms are specifically for people registering for events and Donation Web Forms are for people that would like to make a donation, this guide serves solely as a suggestion for a workaround.
Prior to following these steps, you will need to have an existing event setup in the Events Module and then an Event Registration Web Form created that corresponds with it too. For these step-by-step processes, follow the steps in our Knowledge Base documents on How to Use the Event Module and How to Create an Event Registration Form.
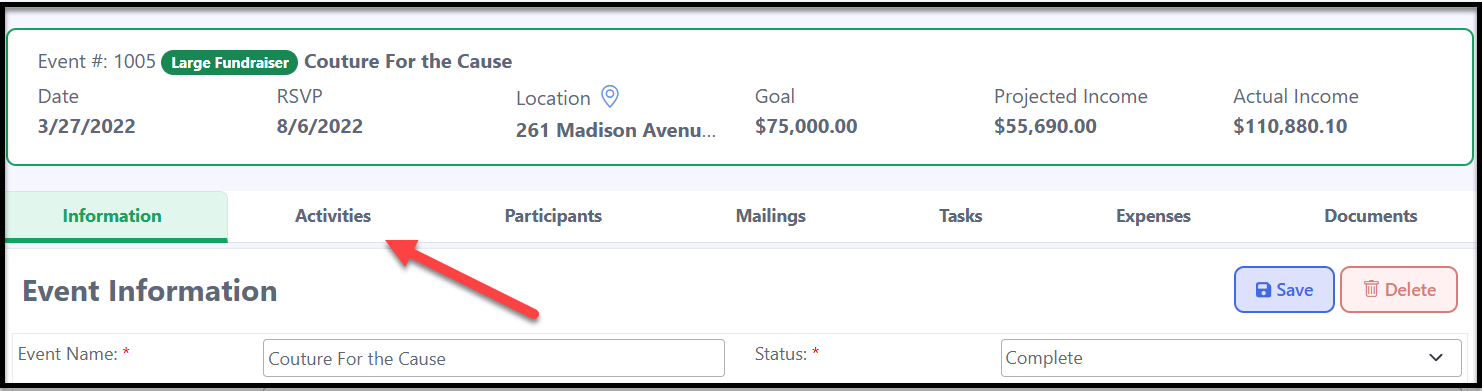
- Navigate to your event in the Events Module by going to Events in the main navigation.

- Click on the event that you would like to edit.
- Next, click on the Activities tab.
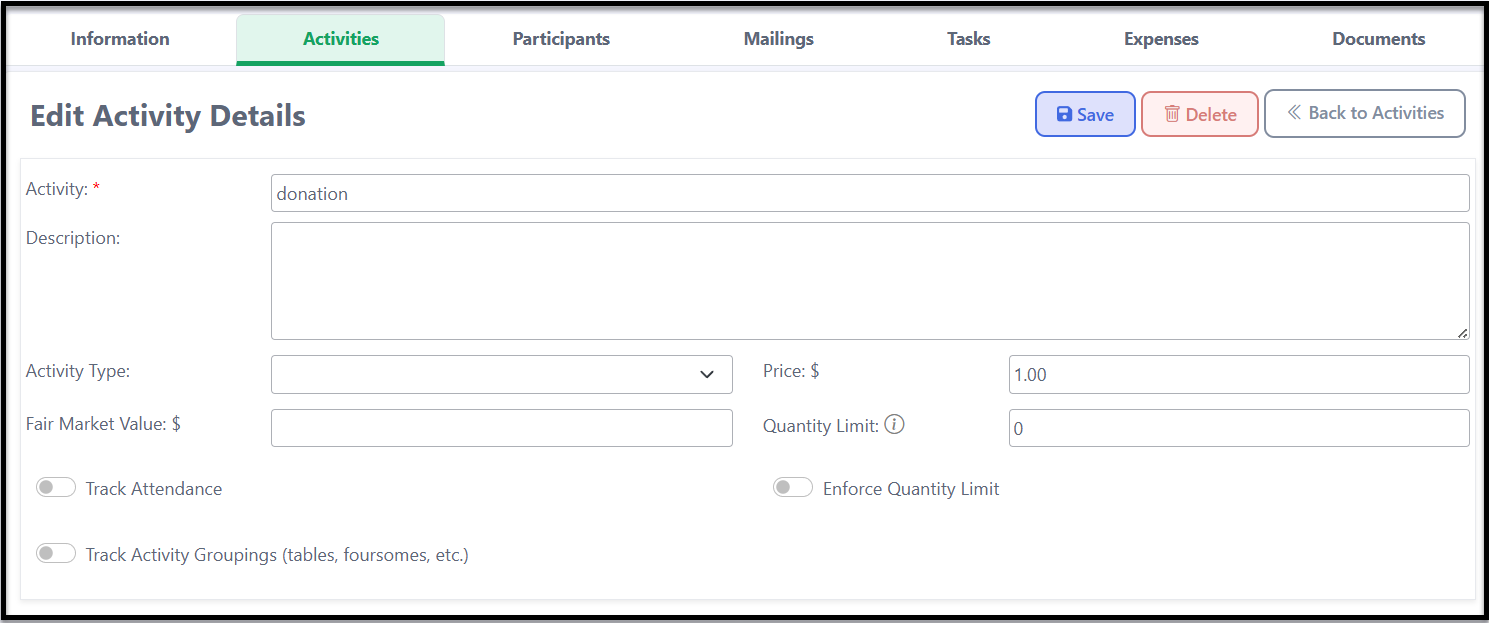
- Click on 'Add Activity'.

- Enter the information below and click on 'Save'.
- Activity: Donation (or whatever name you would like to list this as). This field is required as indicated by the red asterisk (*).
- Description: This is optional and serves as an internal reference for your nonprofit.
- Activity Type: The categorization of activities. To associate an Activity Type to this activity, you may create the dropdown list for these, which is located under your Profile icon > Site Settings > Customizations > Lookup Tables > Event Activity Types.
- Price: Set to $1.00. Since the Event Registration Web form is quantity-based, users can enter any number, and the total will be calculated automatically, allowing for flexible donation amounts.
- Fair Market Value: You may leave this blank.
- Quantity Limit: You may leave this blank too.
- Track Attendance: You may leave this turned off.
- Enforce Quantity Limit: You may leave this turned off.
- Track Activity Groupings: You may also leave this off.
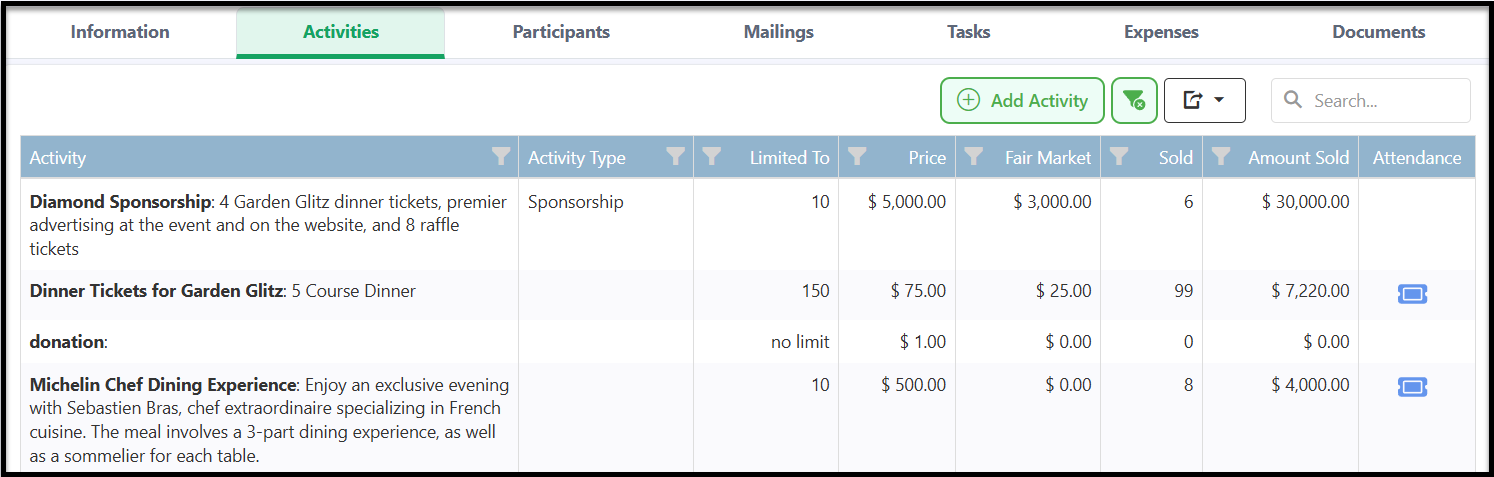
This will then appear in your Activities tab with any others.
- Now that your Donation Activity is setup in the Event Module, navigate to Web Forms.
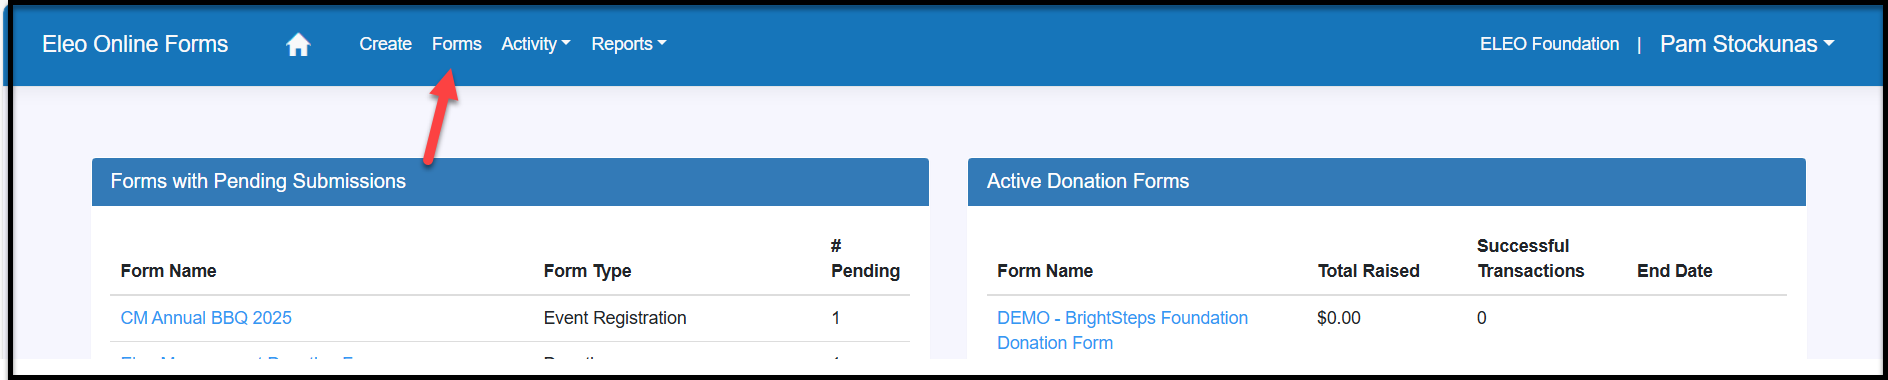
- You will be prompted to log into Web forms. Once in, click on Forms if your Event form already exists, otherwise skip to step 10. Then click on the name of your form.
- Prior to making any edits to your form, please ensure that there are zero pending transactions so that no transactions get stuck. If you have transactions in the Pending folder, please process them first. Our guide on How to Process Web Form Transactions will walk you through this process.
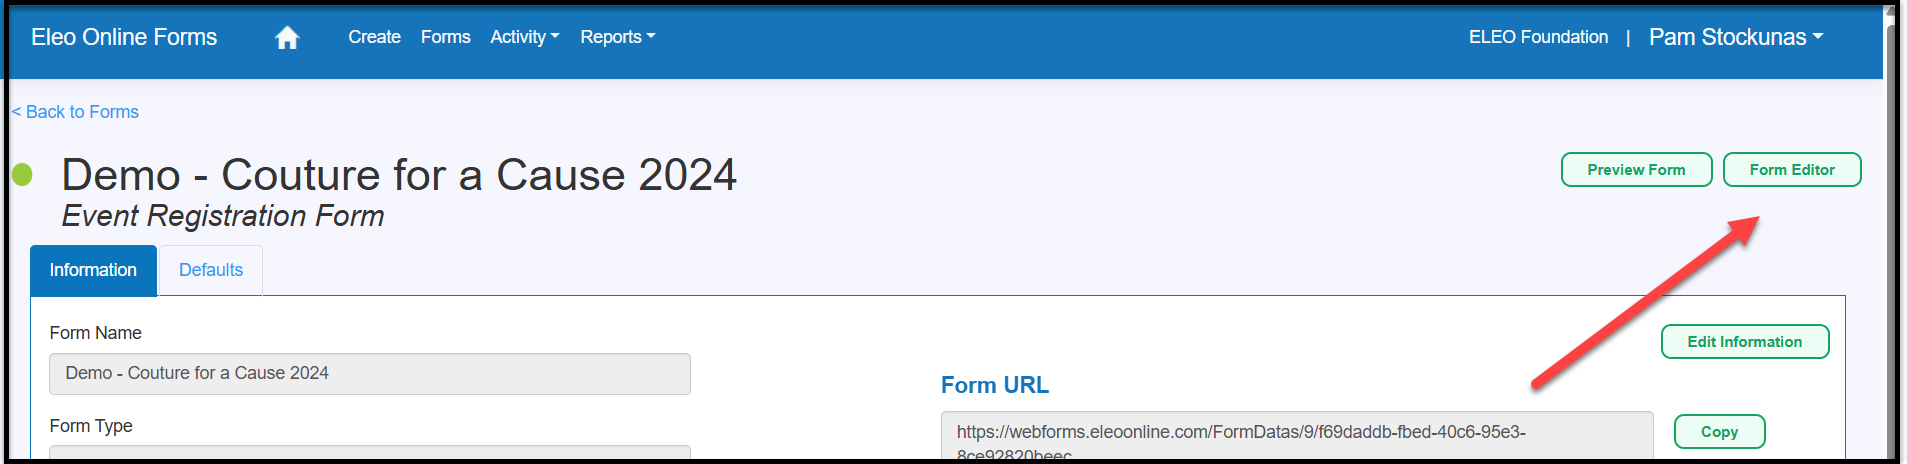
- Click on the 'Form Editor' button.
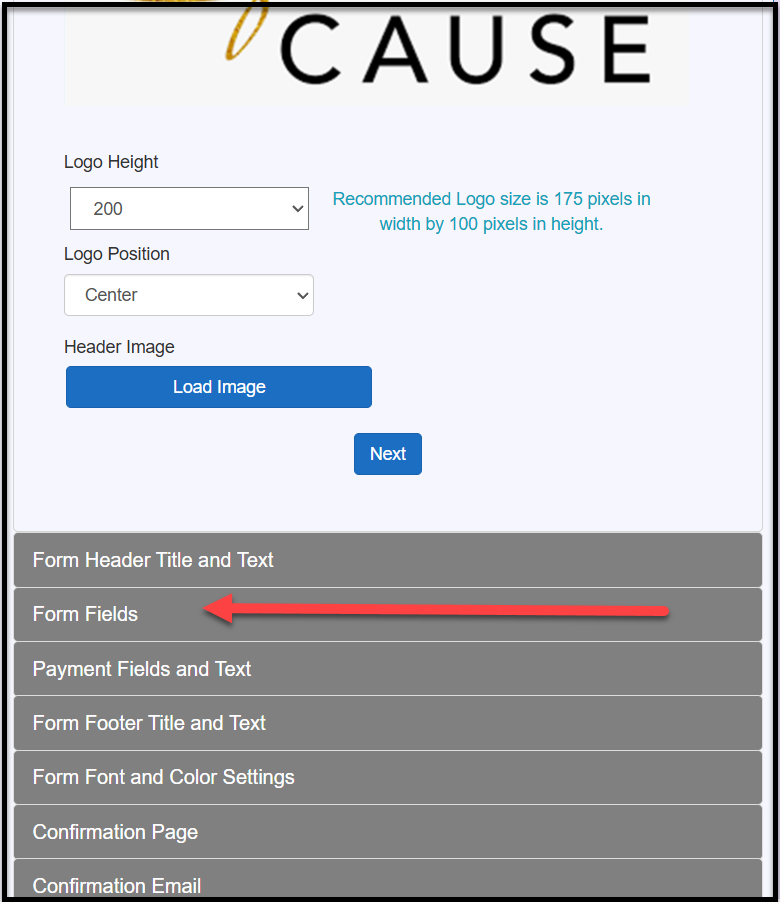
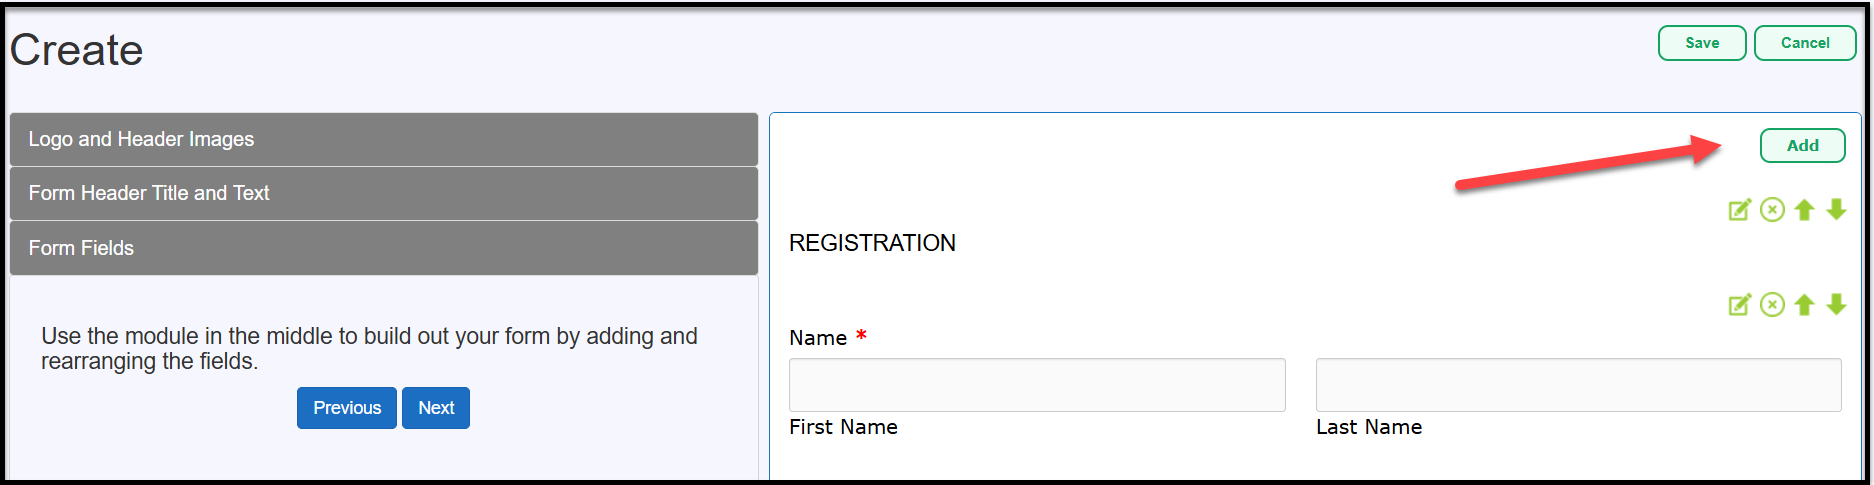
- Then, click on the 'Form Fields' section.
- Click on 'Add'.
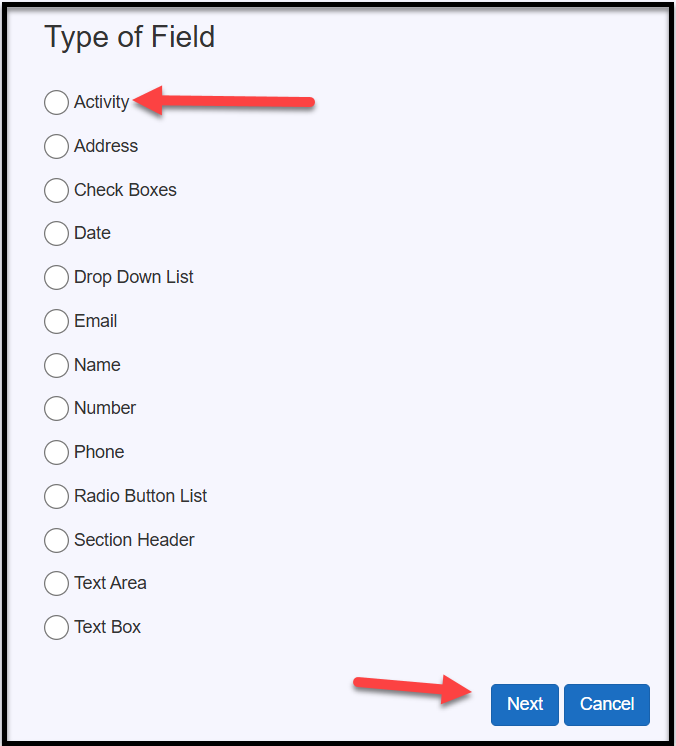
- For the Type of Field, select 'Activity', and click on 'Next'.
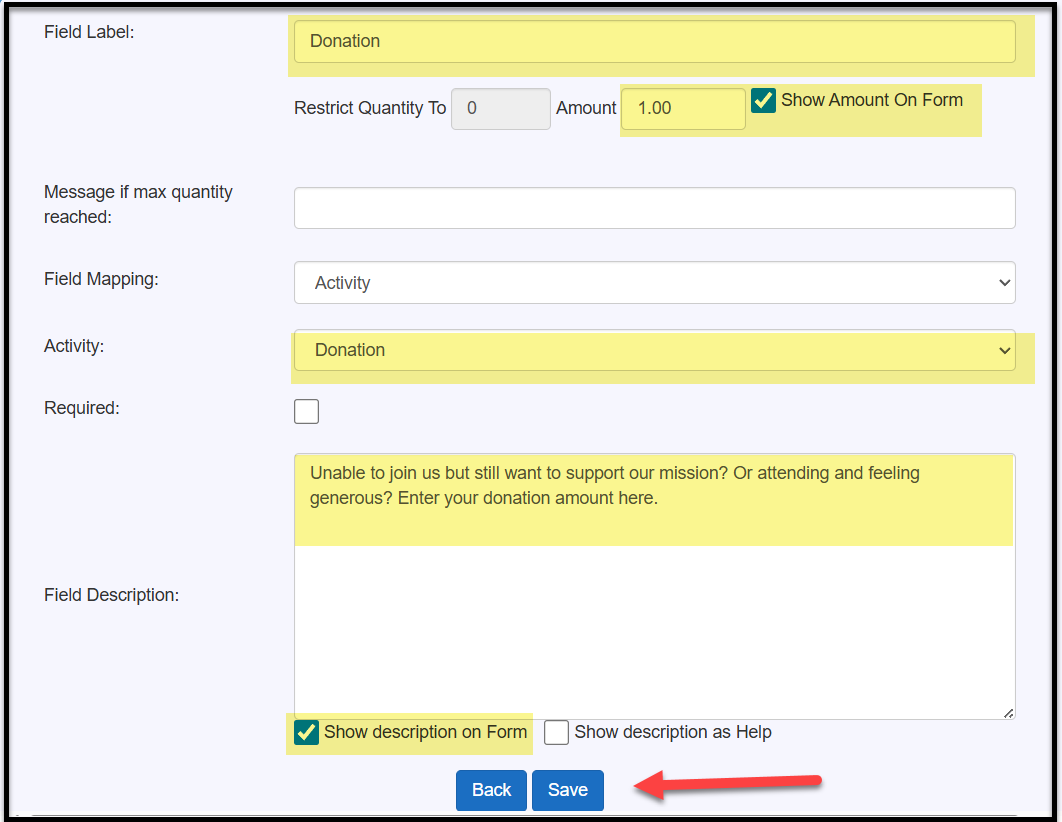
- Enter information for the field. The screenshot below highlights what you need to enter, but other boxes like Field Description are optional. The most important parts to fill out are:
- Field Label: This does not need to match the name of the activity that you setup in the Event Module but can.
- Amount: Set this to 1.00. Your constituents will be able to enter the number that they wish as it will multiply by 1 (Ex. if they enter 10 it will be 10 x 1, which means that a $10 donation will then be added to the form submission).
- Select the checkbox for 'Show Amount on Form' to display the amount. This is optional since the $1.00 is just for the mathematics and not necessarily information for the donor.
- Field Mapping: Select 'Activity'.
- Activity: Select 'Donation' (or whatever you chose to name this activity under the Activities tab of your corresponding event in the Event Module.
- Required: We strongly recommend not setting this field to required and making this an option for your registrants.
When you are done, click 'Save' to proceed.
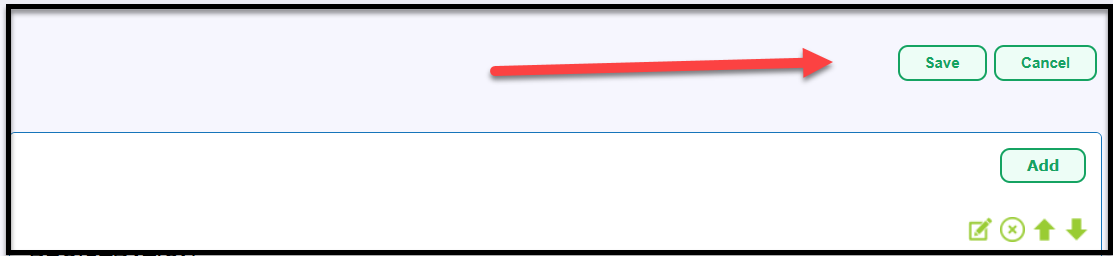
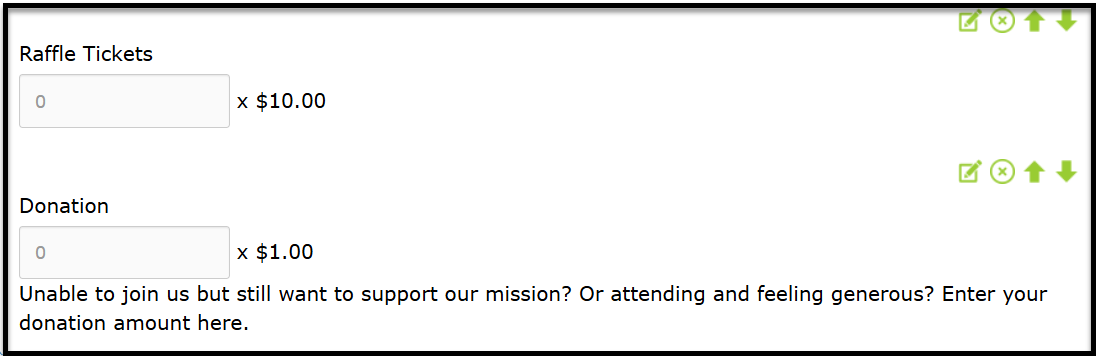
- This will take you back to the form editor. The new field will be on the bottom. Use the green up arrow if you would like to move it. If you left the amount 'Show on Form' box unchecked, then your preview will not display the x $1.00.
- Finish any other edits on the form and press 'Save' on the top right.