How to Add a Waiver to Your Web Form
This guide walks through how to add waiver language, such as photo releases or hold harmless agreements, to your web forms so respondents can review and acknowledge required terms before submitting.
-
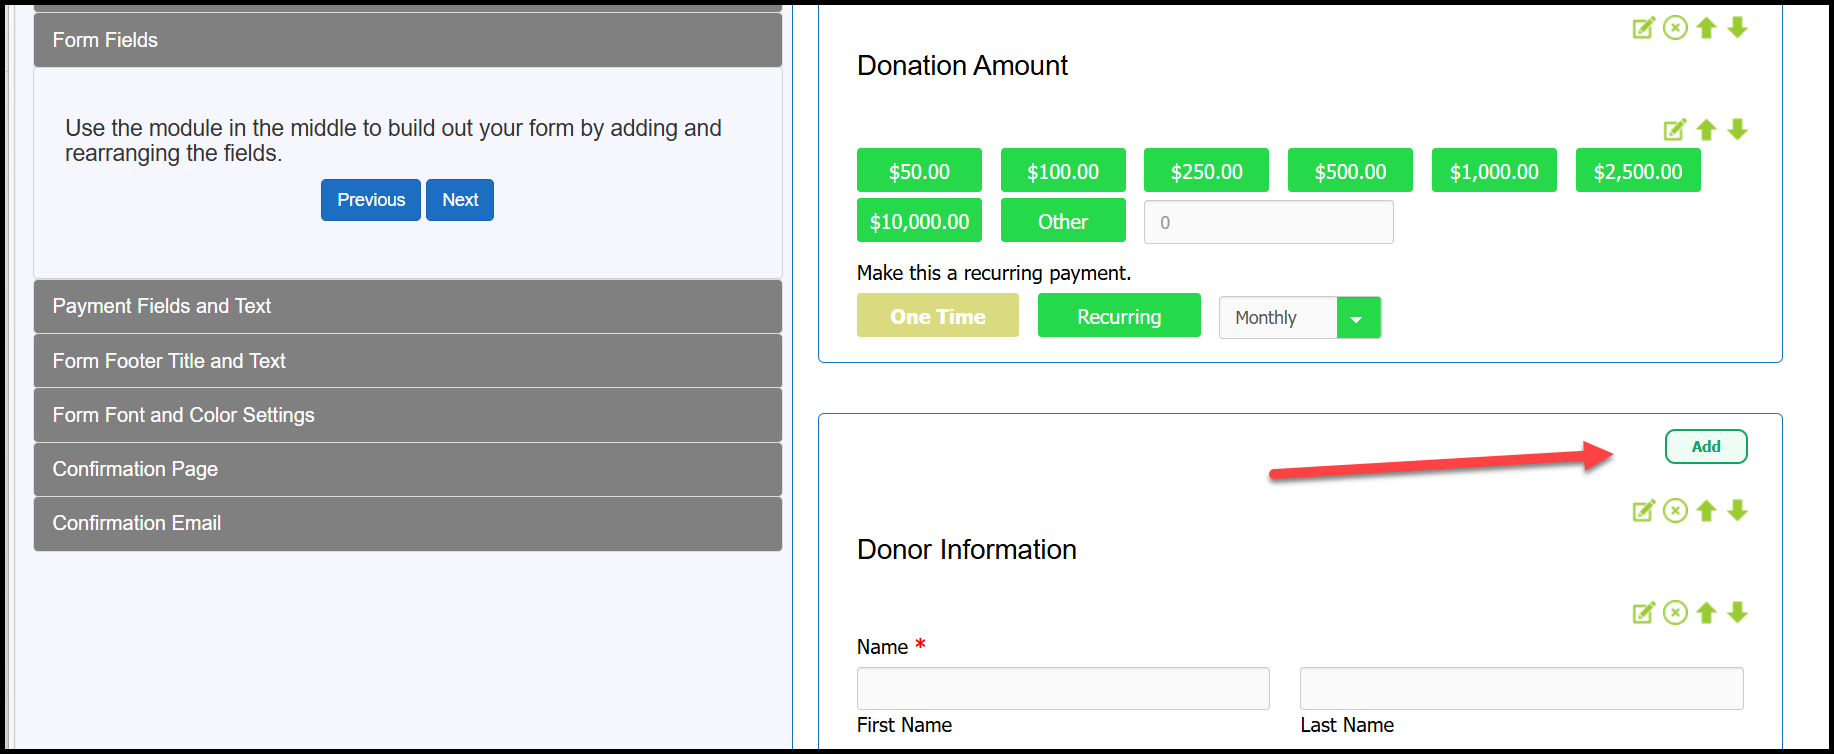
In the Web Form Editor, Add a field to the Form Fields section.
-
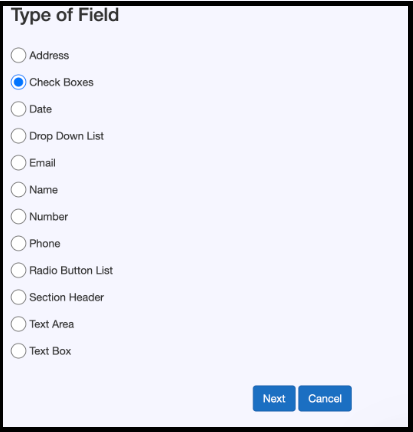
Select Checkbox as the field type to add.
-
Use the Field Label as the waiver title (for example, the name of the waiver). You’ll likely want to mark this field as required.
Paste the full waiver text into the Field Value box, as it supports the highest character count.
Important notes:
- The waiver must be entered as a single block of text. Paragraph breaks will create multiple checkboxes, so avoid formatting with separate paragraphs.
-
Include clear consent language at the beginning, such as:
“Yes, I agree to…” or
“Yes, by checking this box and submitting this form, I agree to…”
This helps ensure the checkbox clearly indicates agreement. (We recommend confirming language with your legal team if needed.)
- You do not need to provide a “Do not agree” option. If the field is required, users who do not agree can simply choose not to submit the form.


-
If you’d like to include additional text, you can add it in the Field Description and select Show description on Form so it appears to users. Keep in mind that this field has a lower character limit.
In the example, I added placeholder text in the Field Description so you can see how it will display on the form. When you are done, press Save.
Example of Final Result:

Another option is to use a Section Header field for the waiver title. This gives you more control over the size and color of the heading.
Then, when adding the checkbox field, you can include brief instructional text in the Field Label. For example, you might say that by checking the box below, the user agrees to the waiver.
The Field Value section, where the full waiver text is entered, remains the same.
