How to Create an Event Registration Web Form
An Event Registration Web Form allows attendees to register and submit payments for events.
Before You Begin
- Credit Card and Web Form modules require a paid subscription or Eleo Opportunity Grant. Free Trial users must upgrade. Click the Support icon for help.
- Make sure you have an Event and at least one Activity set up before creating an Event Registration Web Form.
- Select Form Type
- Select Format Type
- Select Template
- Basic Form Information
- Logo and Header Images
- Form Header Title and Text
- Form Fields- Adding more activities
- Payment Fields and Text
- Form Footer Fields and Text
- Form Font and Color Settings
- Confirmation Page
- Confirmation Email
- Information Tab
- Form URL and Button HTML Code
- Health Check
- Pending Submissions
- Processed Submissions
Accessing Web Forms
- Click on the Web Forms tab in your main navigation on the left hand side.

-
It will prompt you to log into Eleo Web Forms. Use the same username and password as you do for Eleo. Your email will need to be in all lowercase letters for this sign in page.
Creating a Form
-
Once you are in the Web Forms page, select Create.


Select Form Type
-
Choose the type of form you would like to create. In this case, you will select Event Registration.

Select Format Type
- Then choose the Format Type you would like.

- Standalone Page - link to open the form in a new tab/window.
-
Embedded - The form will be embedded directly on your website, allowing visitors to complete it without leaving your site. We include a warning as we cannot guarantee compatibility with all websites, but most clients integrate our forms without any issues.


Select Template
-
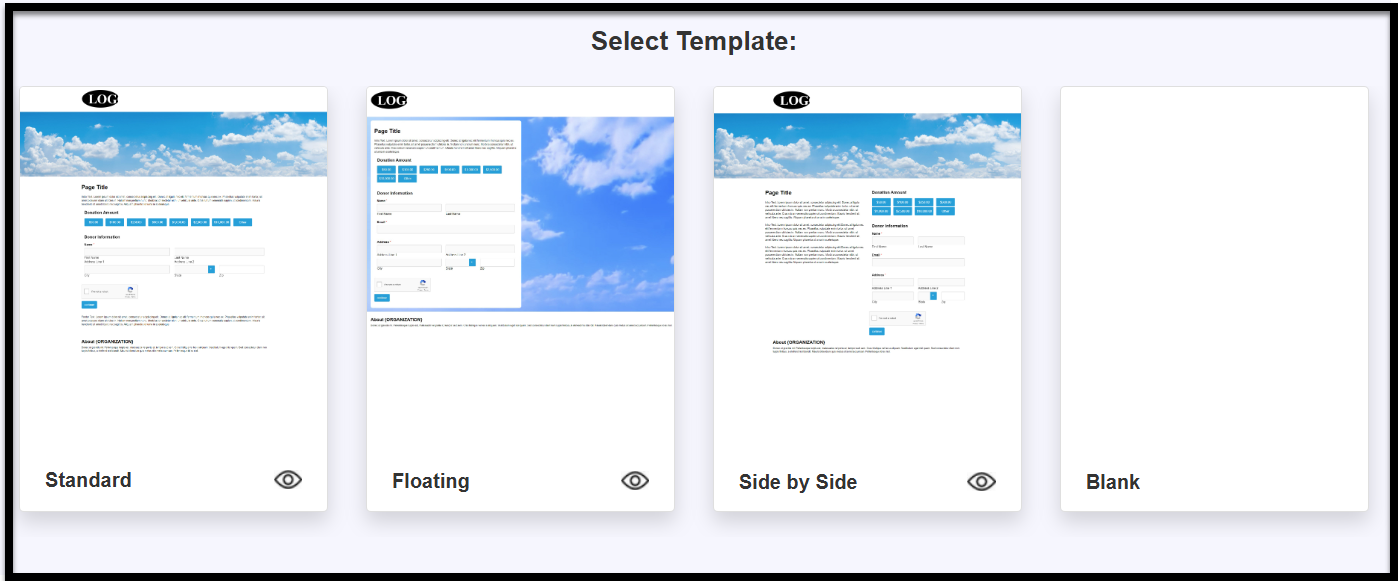
Select the template you would like to use for your form.


Basic Form Information
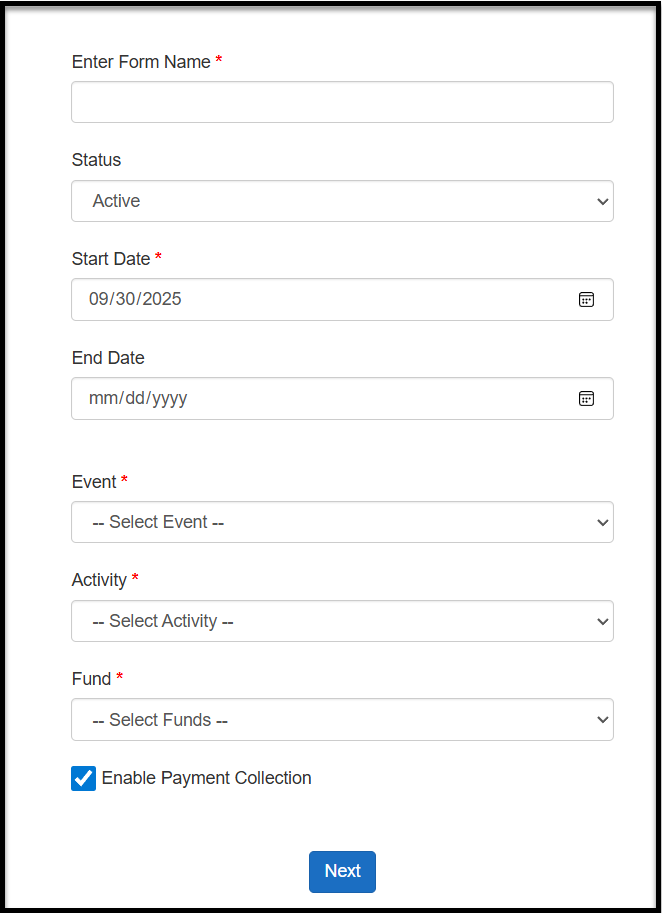
- Enter a form name
-
Status :Active – Live and ready to be used.Not Active – Form is unavailable and cannot be completed (e.g., disabled or unpublished).Pending – Form is in progress and not yet ready to go live.Closed – Form was previously active but is now unavailable because the timeframe has ended.
- Start Date – The date when the form begins accepting submissions.
- End Date (optional) - The date when the form will stop accepting submissions, if applicable.
- Event - event this form is collecting registrations for
- Activity - one activity needs to be chosen here, but you will be able to add additional activities later if needed
- Fund - choose the fund where all gifts from this form should go.
- Enable Payment Collection - choose if you want this form to allow online payments
Then press Next.
Logo and Header Images
-
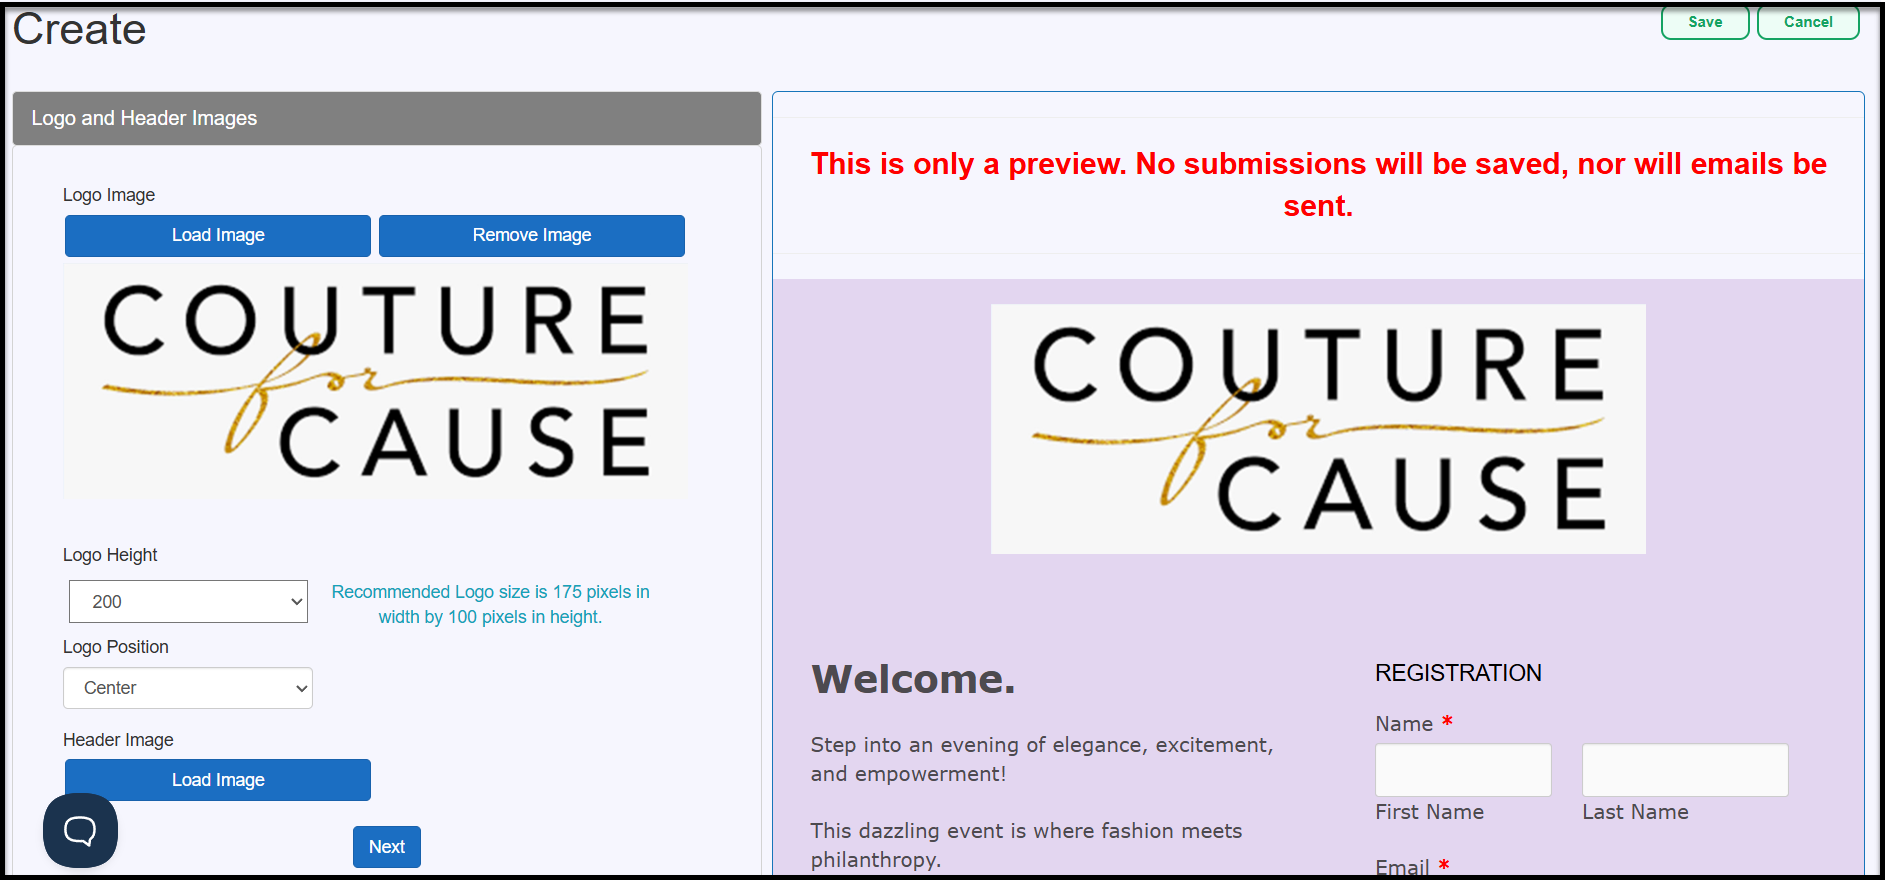
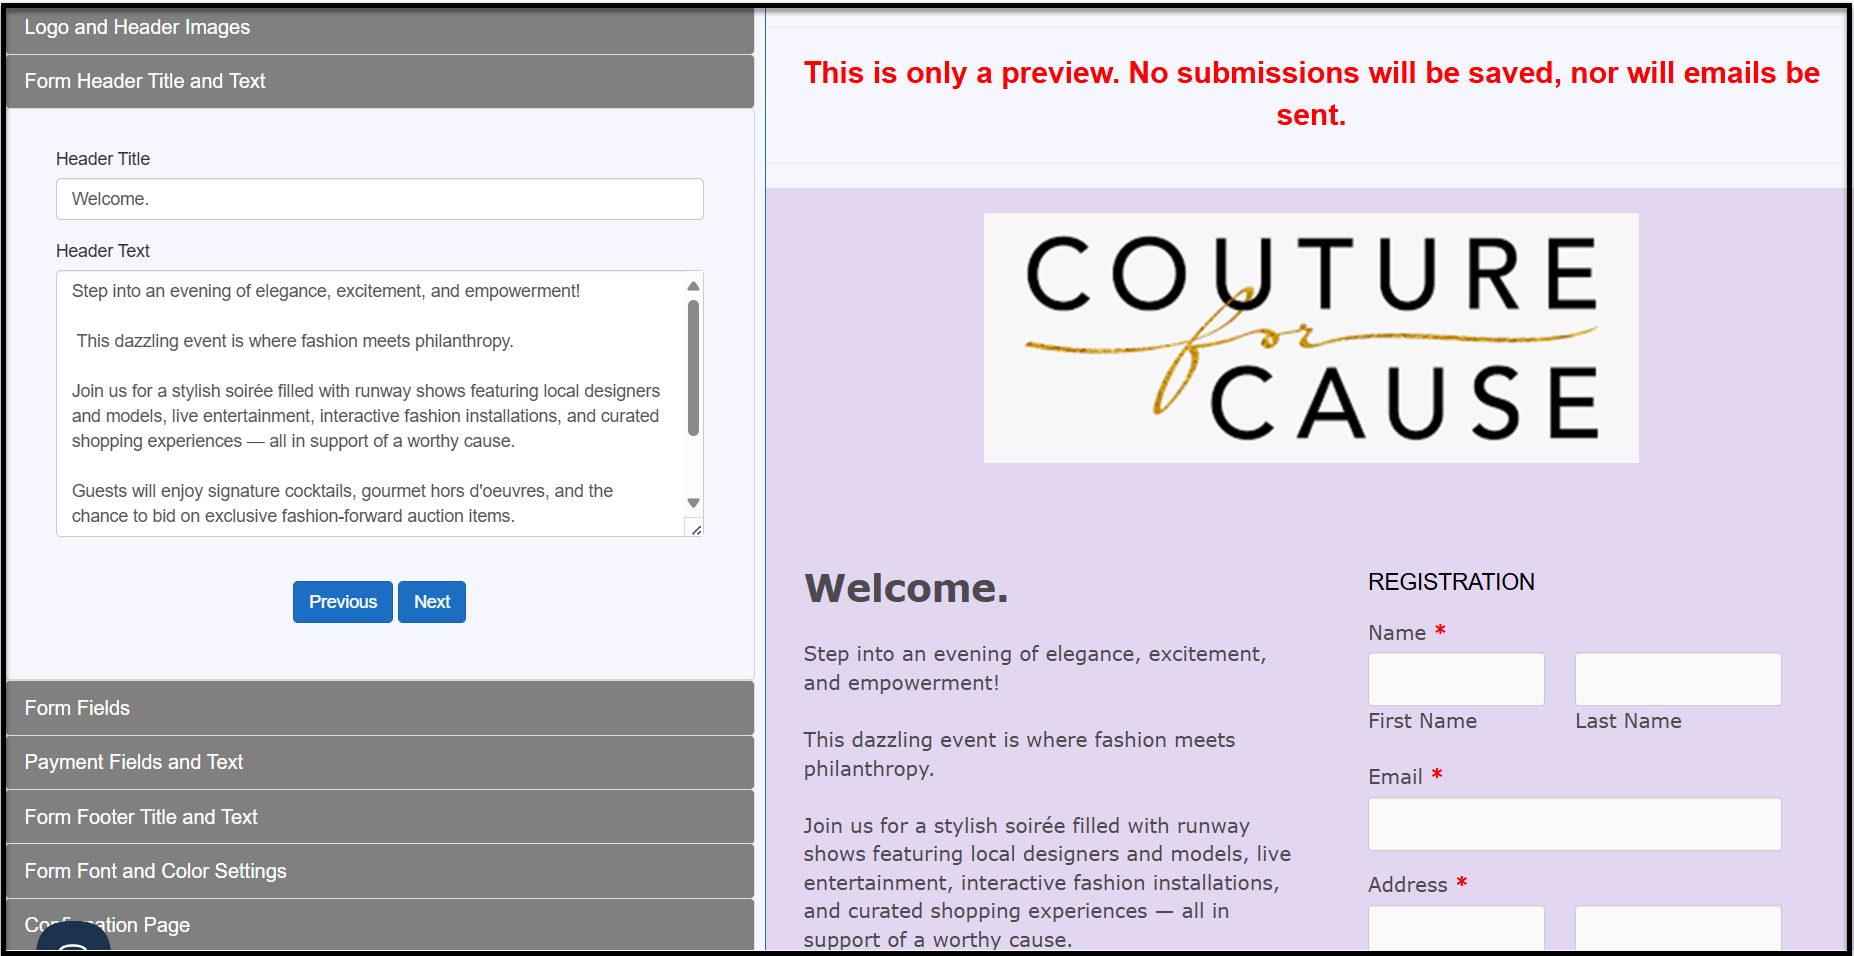
You will navigate through the sections on the left-hand side, while a live preview appears on the right. You can add or remove a logo and header image, and adjust the logo’s height and position as needed. When finished, select Next to continue.

Form Header Title and Text
-
Next, add a Header Title and, if you’d like, some header text. If you’re not customizing the text, be sure to delete the default placeholder.
If your selected form type includes the Display Field Paging option, you can enable it and customize the label names for each page.
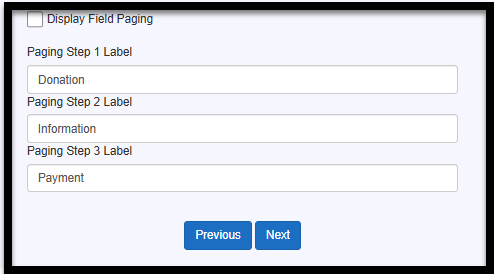


It will look something like this, so the registrant can easily see which part of the form process they’re on.

When you're finished, click Next to continue.
Form Fields
-
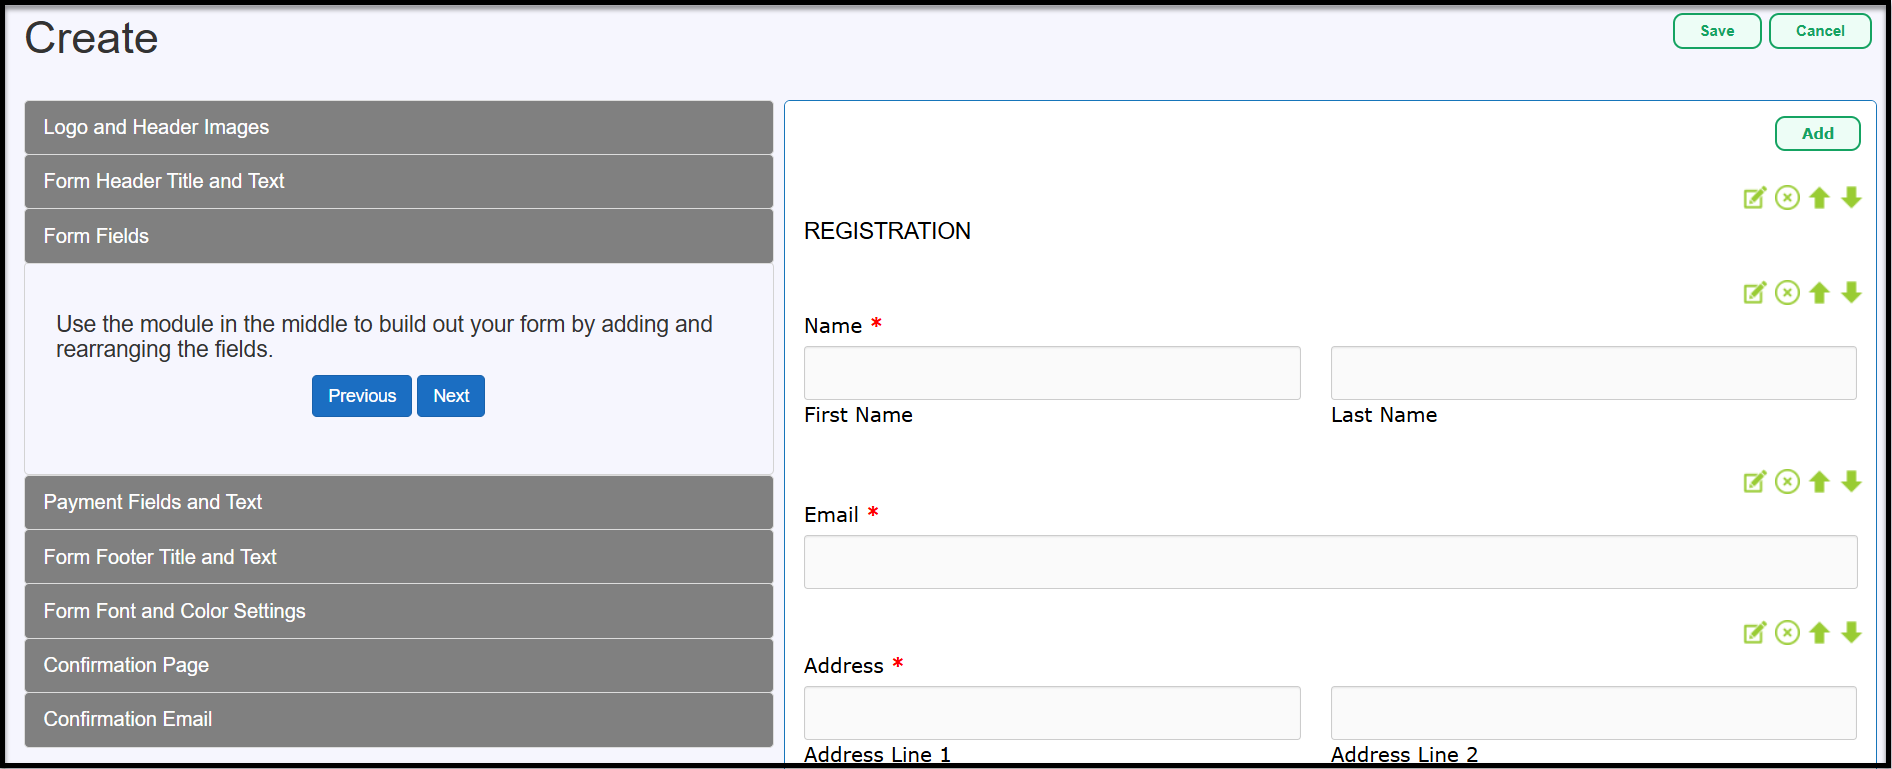
You will now see the standard fields for the form type you selected. If needed, you can add additional fields by clicking the Add button on the right-hand side.


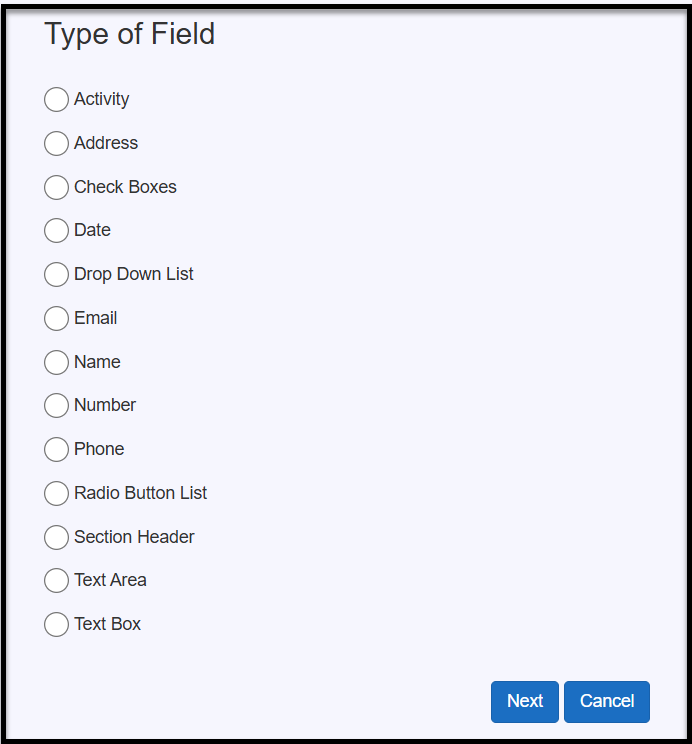
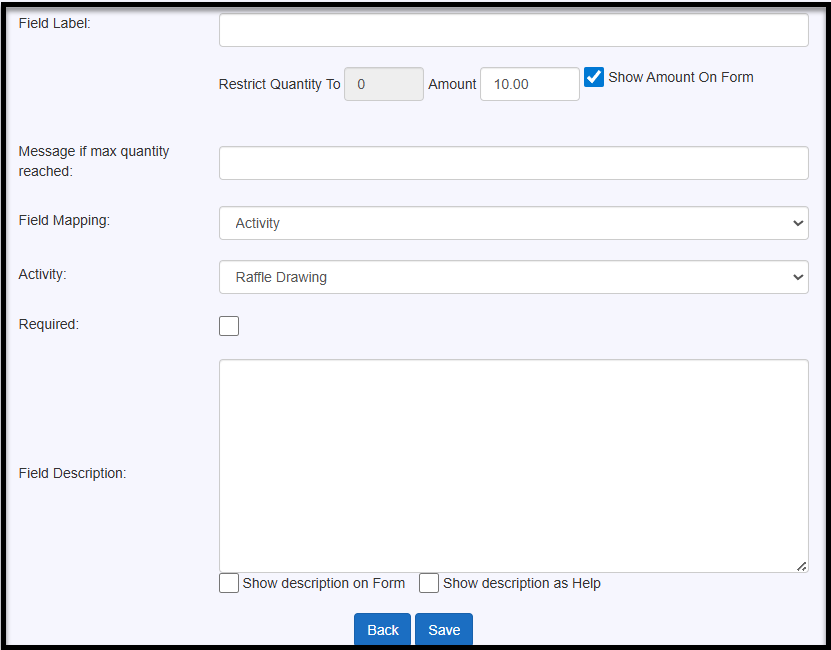
This page may look a little different depending on the field type you select, but the setup process is generally the same. In this example, we’ll look at the Activity field.
- Field Label: Enter the name you’d like displayed on the form.
- Activity Selection: Choose the Activity from the dropdown. The Restrict Quantity To and Amount values will carry over from your Event Module setup, but you can adjust them if needed. You can also choose whether to display this amount on the form (we recommend keeping it visible).
- Max Quantity Message: Add a message to display if the maximum quantity is reached (e.g., Call for more info or to be added to the waitlist).
- Field Mapping: Link the field to an Eleo field if needed. Activity fields will already be mapped automatically.
- Required Field: Mark the field as required only if participants must enter a number for this activity. If they may select other options instead, leave it unchecked.
- Description: Add any clarifying details. You can display the description directly on the form or as hover help.
When everything looks good, click Save.

- Edit – Modify any field on the form.
- Remove – Delete a field you no longer need.
- Up/Down Arrows – Reorder fields by moving them up or down.
When you are done with fields, click Next.

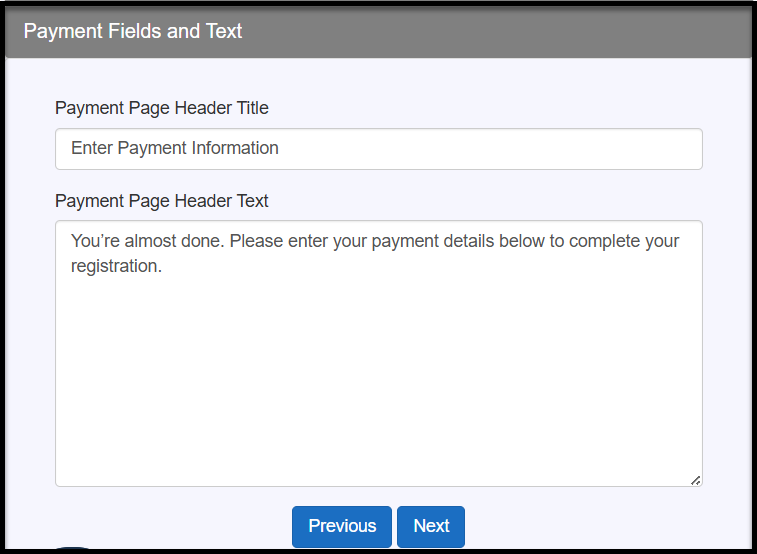
Payment Fields and Text
- Feel free to change the Payment Page header and the text below it if you'd like. Then, click Next.
Form Footer Fields and Text

Form Font and Color Settings
- Customize the form's font and colors, with a preview displayed on the right-hand side. When you are done, press Next.

Confirmation Page
- Select your Confirmation Page options. This page will appear once the form is submitted.
- You can choose to display the form's header and footer on the confirmation page (this varies based on the template you choose)
- Add your own custom message.
- Include form fields that will populate with the submitted information.

Confirmation Email
-
Lastly, set up your confirmation email (optional).
- Choose to have the email sent upon form submission by checking the box (recommended). This can act as their thank-you message and receipt.
- Customize the "From" email address to make it easier to identify.
- Add a subject line for the email.
- Optionally, copy the email to up to three recipients (yourself and two other staff members).
- Write the body of your email and include form fields (selected from the right-hand side).

Viewing an Existing Form
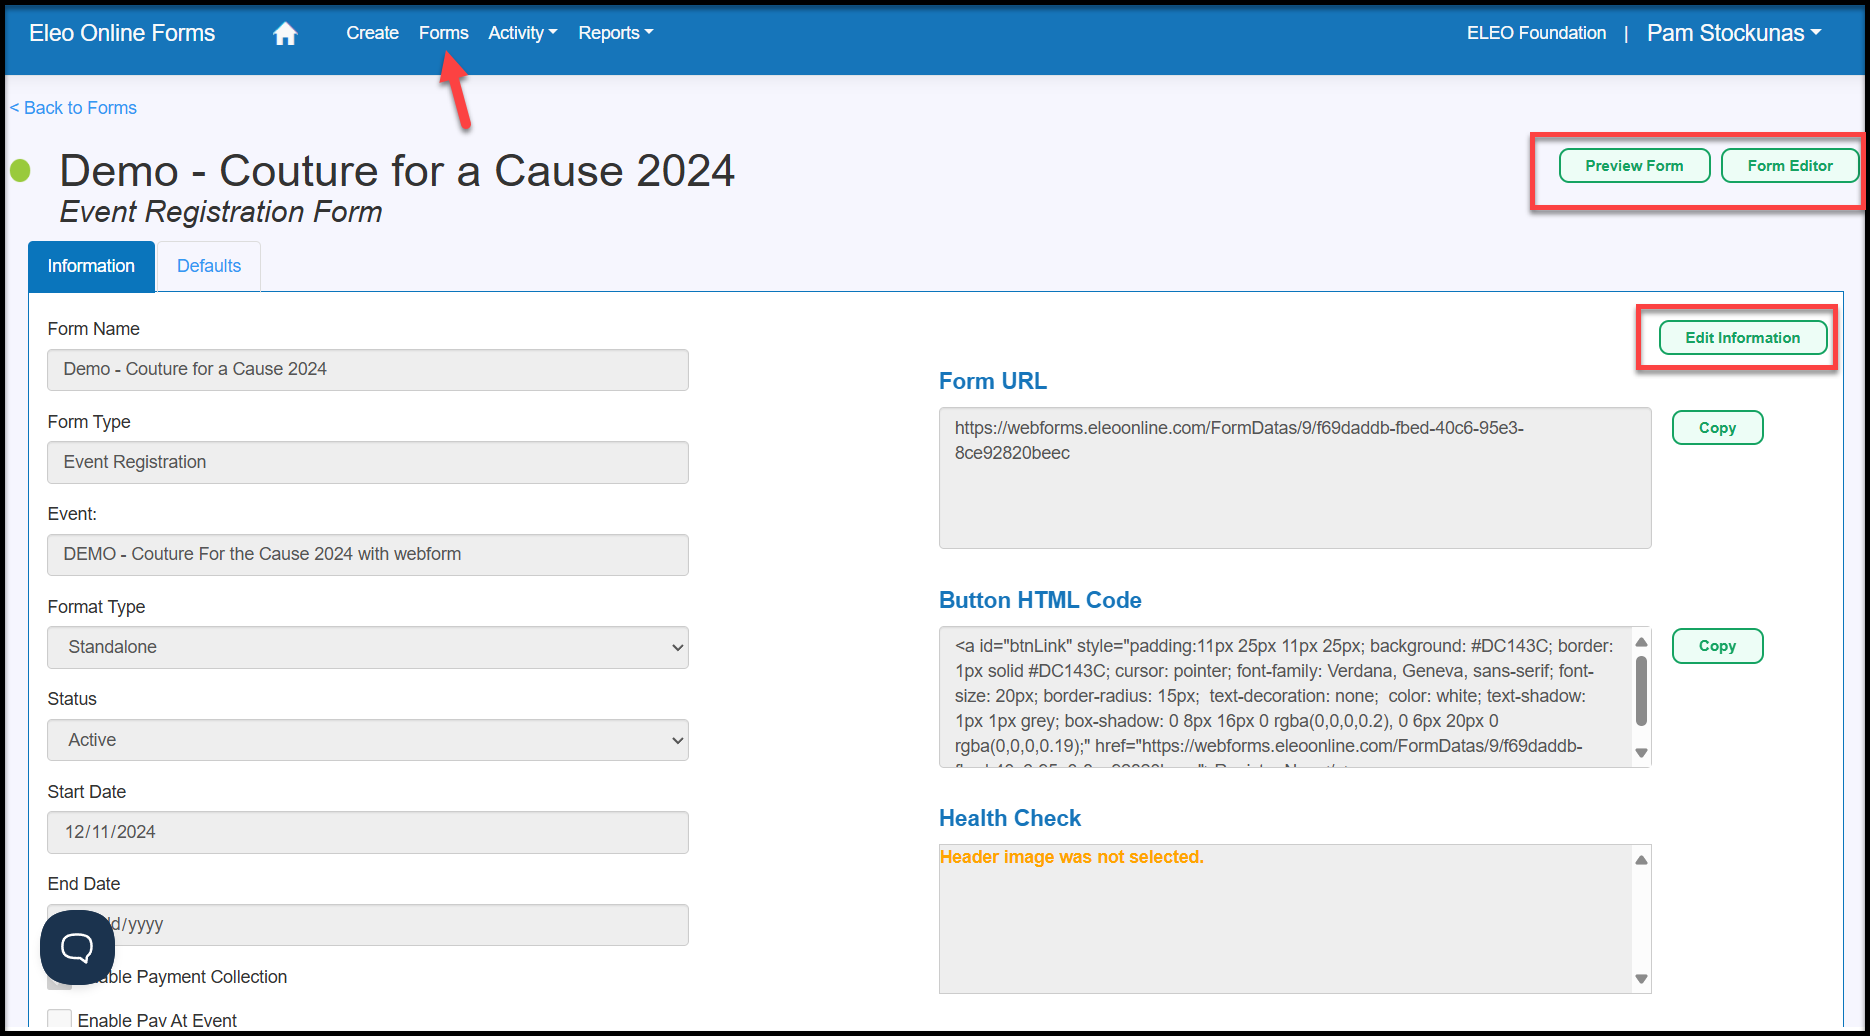
Information Tab
This section shows the basic details of your web form, including its name, type, format, submission status, and the dates when submissions are accepted.
- To allow online payments, check Enable Payment Collection (if it isn’t already enabled).
- To give registrants the option to pay at the event, check Enable Pay at Event.
- If you enable Pay at Event, type the message you want users to see next to the optional checkbox.
- To give registrants the option to cover the processing fee, check Enable Processing Fee Coverage. (This must first be set up under Site Settings - See Manage Your Web Form Options for instructions on how to set this up.)
Here’s an example of how these options will appear on the form.

Form URL and Button HTML Code
Health Check
Pending Submissions
Processed Submissions
User Tip: Event Registration submissions don’t just create a Contact and gift record. They also automatically add the registrant as a participant in the Event Module, along with their corresponding activity and activity payment.